


Kitchen island installation is more than just a design upgrade—it can transform how you cook, entertain, and increase your home’s value when done right. But the process demands careful planning, technical execution, and realistic expectations about cost, code, and utility challenges.
Key Takeaways
- Kitchen island installation routinely delivers 60–80% ROI, ranking it among the most desirable kitchen features for both lifestyle and resale.
- Clearances, utilities, and code compliance are the top technical stumbling blocks—especially with sinks, dishwashers, or seating.
- Common mistakes include inadequate space, noise issues, missed electrical/code steps, and underestimating disruption or total cost.
- Kitchen Island Installation: The Core Concept
- Step-by-Step Guide: How To Get It Right
- Advanced Analysis & Common Pitfalls
- Conclusion
- FAQ: Kitchen Island Installation
Kitchen Island Installation: The Core Concept
Kitchen islands remain a top priority for remodelers and buyers, thanks to their mix of function, seating, and style. National research shows that kitchen islands “still reign supreme” as a sought-after feature, with project-specific ROI typically in the 60–80% range and sometimes even higher for well-scoped remodels.
A well-installed island can solve traffic jams, enable seating, and add valuable workspace, but the blend of utilities, cabinetry, code rules, and layout planning makes this upgrade one of the most complex in the kitchen.
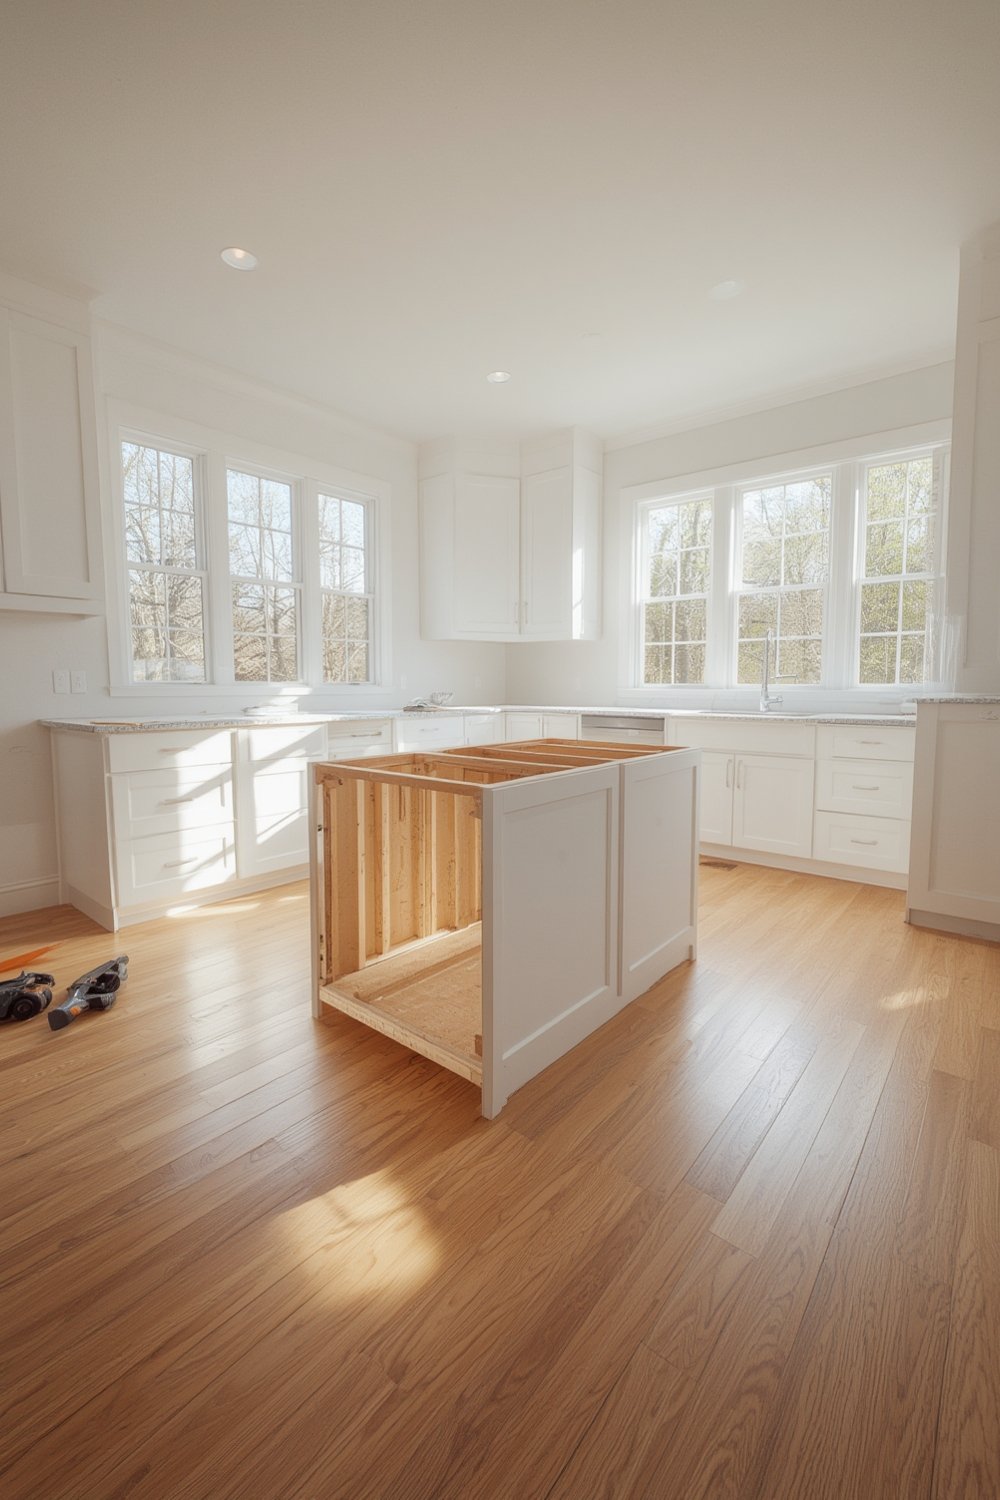
Costs vary widely: portable or prefab rolling islands start near $100, but custom fixed islands with stone tops, seating, plumbing, and power regularly run $7,000–$15,000 or more, especially in major cities. Importantly, built-in islands directly add to appraised home value, while portable islands generally do not.
For more on ROI, buyer trends, and costs visit
Angi’s cost guide,
Zillow’s kitchen ROI analysis, and
Inman’s 2024 homebuyer report.
Step-by-Step Guide: How To Get It Right
- Assess your space. Map out the kitchen with accurate measurements. Leave a minimum 42-inch aisle around each side for comfortable passage—even more in multi-cook households. If seating is planned, measure for knee space and stool clearance, including open dishwasher or oven doors.
- Decide on island type. Choose between portable (rolling) islands, prefab kits, or built-in custom construction. For a true investment and resale impact, opt for a built-in unit that matches your cabinetry and countertops.
- Design for function first. Determine what you want in the island: seating, prep space, sink, dishwasher, cooktop, or just storage. Ensure plumbing/electrical can be run to the island location without excessive demo or disruption.
- Finalize the layout. Sketch or use kitchen design software to visualize workflow, sightlines, and appliance clearances. Verify you’re maintaining or improving the kitchen’s “work triangle” (sink–range–fridge) if adding sink or cooking features.
- Connect with local pros. Hire a kitchen designer, contractor, and licensed electrician/plumber for built-in installations involving utilities. Review local codes for island outlets, venting, and inspection rules.
- Pull permits and schedule trades. Get all required permits for electrical, plumbing, and building. Coordinate schedules—especially if multiple trades overlap (cabinetmaker, plumber, electrician, countertop fabricator).
- Order materials. Account for lead times: cabinetry and custom countertops may take 4–8 weeks from order to delivery. Save all product specs for permit and inspection documents.
- Rough-in utilities and set cabinets. Prepare (and patch) subfloor for drains, power, and water. Install cabinets securely, checking for level and plumb.
- Install and connect appliances. Set up sinks, dishwashers, or other equipment per manufacturer and local code; verify all dedicated circuits and GFCI/AFCI requirements are met before closing up work.
- Finish with countertops, seating, and lighting. Once surfaces are templated and set, hook up plumbing fixtures and add stools or chairs. Install task and pendant lighting for optimal visibility.
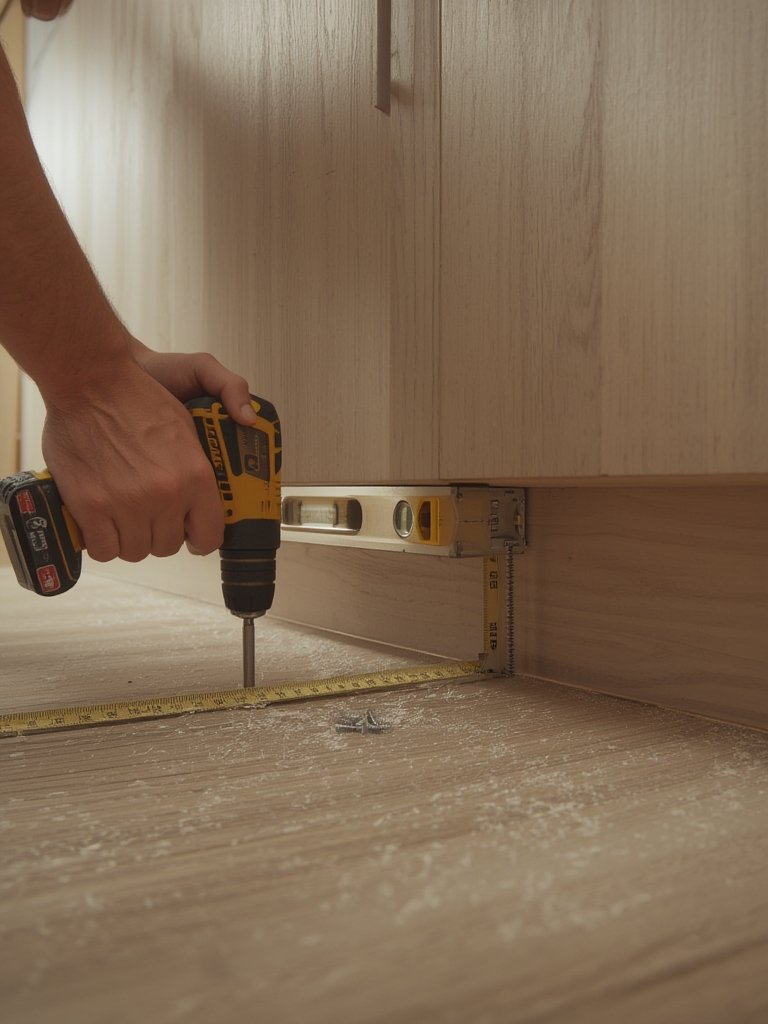
- If you’re hiring local contractors, look for those with experience integrating custom features—just as you’d seek expert landscaping services for complex outdoor work.
- DIY-ers: focus on portable or kit-based islands unless you’re proficient with plumbing and electrical—mistakes here can lead to failed inspections or expensive re-work.
- Verify all electrical and plumbing runs before floor patching or island cabinet installation, to avoid hacking apart finished flooring and cabinetry.
Advanced Analysis & Common Pitfalls
Choosing and installing a kitchen island has more risk than most sites admit. Below are the biggest pain points and common mistakes—extracted from contractor case studies, real estate data, and homeowner complaints—so you don’t become a cautionary tale.
Major Pitfalls and Mistakes
- Inadequate clearances: Less than 42-inch walkways mean constant traffic jams, knuckle-raps from fridge doors, and impossible multi-cook routines.
- Code failures: Missing required GFCI electrical outlets or proper venting for island plumbing leads to failed inspections, surprise demolition, and costly rework.
- Poor utility integration: Rerouting electrical/plumbing in concrete slabs is not a small job. Improper planning causes leaks, circuit overloads, or noisy appliances right next to family spaces.
- Seating mistakes: Not enough countertop overhang (aim for at least 12 inches), too many stools, or cramping the dishwasher/garbage pullout zone makes islands unusable for actual eating or entertaining.
- Noise and water damage: Dishwashers in islands can create disruptive noise in open-concept layouts. Plumbing leaks may go undetected because they’re hidden in cabinetry, increasing the risk of costly repairs.
- Workflow disruption: Placing the sink in an island may break up the natural cooking triangle, making food prep less efficient while putting dirty dishes in plain sight.
- Under-supported countertops: Large counter overhangs without steel supports can crack or sag, especially with natural stone or quartz surfaces.
Comparison: Built-in Versus Portable Islands
| Feature | Built-in Island | Portable Island |
|---|---|---|
| Perceived Quality | Viewed as a permanent upgrade; matches kitchen finishes. | Can look temporary or mismatched; treated as furniture. |
| Resale Impact | Directly increases home value; part of kitchen ROI. | Not included in appraisals or home value calculations. |
| Adaptability | Fixed in place; changes require major work. | Easy to move, replace, or remove if space needs change. |
| Utility Integration | Allows power, plumbing, and appliances (with code compliance). | No built-in utility connections; limited to surface use. |
| Typical Cost Range | $4,000–$15,000 (custom with seating, utilities, and premium finishes) | $100–$1,500 (DIY or prebuilt without utility integration) |
For detailed code and infrastructure rules, check your state’s NEC adoption or review NEC 2020/2023 island outlet provisions. Want more detail on code and inspection issues for technical home upgrades? See our guide to home EV charger installation and outdoor kitchen installation for similar code compliance considerations.
Cost and Timeframe Comparison
| Type | Average Installed Cost | Typical Timeline |
|---|---|---|
| Portable/Prefabricated Island | $100–$1,500 | 1 day (DIY assembly) |
| Custom Built-In Island (No Utilities) | $4,000–$8,000 | 2–4 weeks (incl. design, order, fabrication) |
| Custom Built-In with Sink/Dishwasher | $7,000–$15,000+ | 6–12 weeks (complex scheduling, inspections) |
Don’t overlook seating ergonomics: standard comfort means at least 24 inches per stool and a 12-inch overhang for knee room. Most online how-tos skip these crucial details.
For real-world post-install issues and user satisfaction analysis, see research compiled by Firenze Stone and highlights in our bathroom renovation and solar panel installation guides.
Conclusion
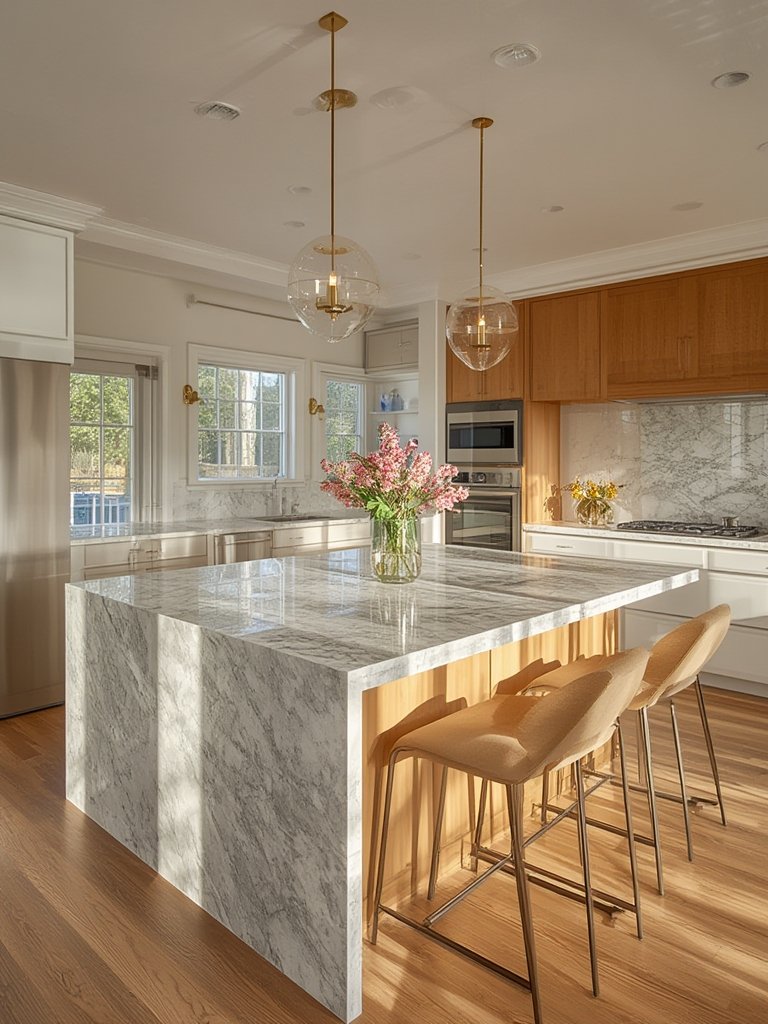
A well-planned kitchen island installation delivers proven ROI, more usable space, and better daily living, but short-cutting technical details or skipping expert help leads to code fails and persistent regrets. Decide between portable and built-in islands for your space and goals, adhere to clearance and code requirements, and coordinate all trades if your island will house appliances or plumbing.
Ready to start your kitchen island installation? Get multiple bids, check local building codes, and shop for experienced contractors who will show you plans, not just samples. For more on making the right home upgrade, check our in-depth guides on composite decking installation and home generator installation.
FAQ: Kitchen Island Installation
What is the average cost of kitchen island installation?
Costs for kitchen island installation range from $4,000–$8,000 for custom, built-in islands without sinks or appliances, and $7,000–$15,000+ for those with seating, plumbing, and premium finishes. Prefab or portable islands can be much lower ($100–$1,500), but don’t add to home value.
How much space do I need around a kitchen island?
You should allow at least 42 inches of clearance between the island and any cabinets or appliances for comfortable movement and to meet code or universal design guidelines.
Do kitchen islands require electrical outlets?
Yes. Under the National Electrical Code, most kitchen islands must have at least one GFCI-protected outlet accessible at or just below the countertop—exact rules vary by local code. Pop-up outlets may be allowed if they meet UL standards.
Is it worth adding a sink or dishwasher to a kitchen island?
Islands with sinks or dishwashers offer extra functionality but require careful planning for plumbing, venting, electrical loads, and noise control. Done right, they boost value, but poorly integrated utilities can create serious headaches.
What common mistakes should I avoid when installing a kitchen island?
The most common mistakes are poor clearance (too little space), code violations (missed GFCI or venting), crowding seats, under-supported overhangs, and misplacing sinks/dishwashers in ways that break up the kitchen workflow or create noise/water issues.
