


### Blog Post:
Deck waterproofing system projects are booming in North America, but not all solutions perform equally—and choosing wrong can lead to early leaks, hidden damage, and costly repairs.
Key Takeaways
- The waterproofing membranes market is fast-growing, fueled by stricter codes and demand for usable outdoor living space.
- Most failures come from incorrect installation, insufficient maintenance, or poor system choice—not just product quality.
- Comparing lifecycle costs and technical specs matters more for long-term performance than upfront price alone.
- What Is a Deck Waterproofing System?
- How to Choose and Install a Deck Waterproofing System: Step-by-Step
- Advanced Analysis & Common Pitfalls: What Reviews and Data Reveal
- Conclusion
- Frequently Asked Questions
What Is a Deck Waterproofing System?
A deck waterproofing system is a combination of membranes, coatings, or drainage products designed to keep water out of your deck structure—and, for elevated decks, to create dry space below for storage or living. Waterproofing systems can be liquid-applied or sheet membranes installed on top of (or even beneath) your deck surface, or discrete under-deck drainage assemblies mounted below joists. Their job: block water from entering joists and substructure, prevent leaks, resist UV and freeze-thaw damage, and (in the case of under-deck options) keep the area below the deck dry for more usable space.
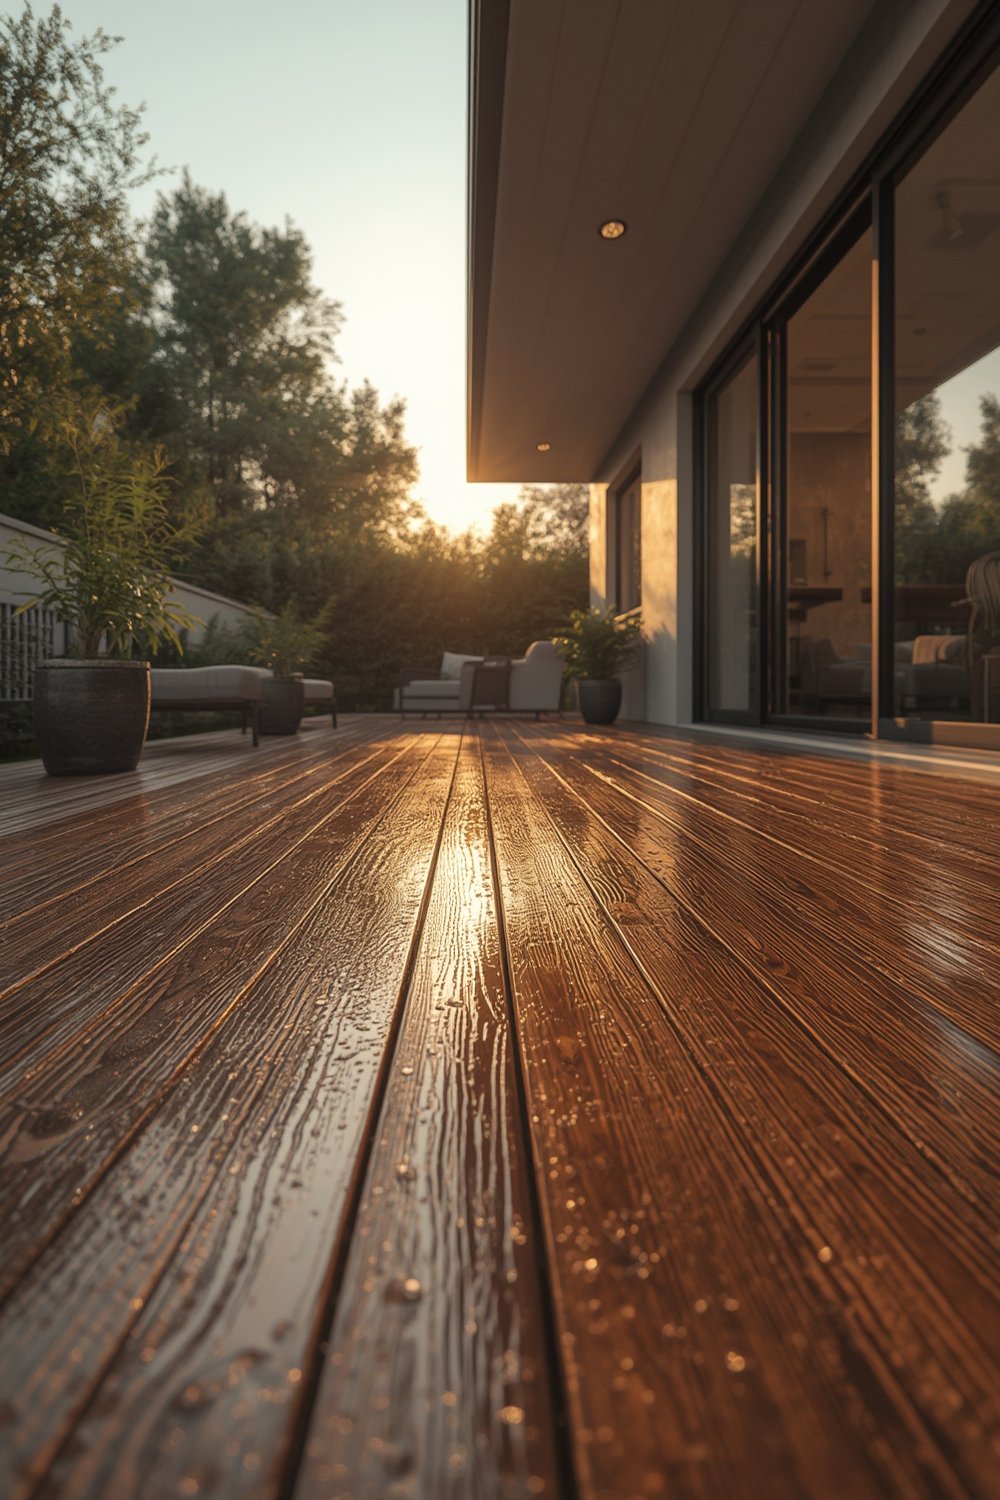
In 2024, the North American waterproofing membrane market reached $8.0–9.19 billion, covering not just decks but also roofs, balconies, and parking structures. Deck-specific systems—especially polyurea and polyurethane liquids—have rapidly gained ground for their seamless, lasting protection (source).
Demand is fueled by rising home renovation, stricter building codes, and the desire to maximize usable outdoor areas for relaxation or entertaining. Whether you are upgrading an existing deck or building new, choosing the right waterproofing approach directly affects lifespan, aesthetics, and maintenance burden. For a holistic outdoor transformation, see also our landscaping services guide.
How to Choose and Install a Deck Waterproofing System: Step-by-Step
Every deck is different—so is your climate, intended use, and maintenance appetite. Here are the key steps for getting a deck waterproofing system right, whether you tackle this yourself or hire a contractor.
Step 1: Evaluate Your Deck and Choose an Approach
- Inspect deck condition: Every waterproofing system relies on a sound substrate. Replace rotted wood, reset loose fasteners, and let surfaces dry fully (often 2–4 days after rain).
- Determine waterproofing goal: Surface coating protects framing and boards; under-deck drainage keeps below-deck areas dry but does not protect decking from water.
- Climate matters: Freeze-thaw regions and areas with high UV demand more robust, flexible membrane choices—think polyurea or premium PVC sheets.
Step 2: Select Your System Type
- Liquid-applied coatings: Best for smooth, continuous deck surfaces. Polyurea and polyurethane offer top durability but require excellent prep. Acrylics are budget-friendly for DIYs on low-traffic decks. Cementitious overlays work for concrete bases. For multi-level exterior areas, see our multi-level deck design insights.
- Sheet membrane over deck: Ideal if replacing or covering an entire deck surface—especially over plywood or concrete. Look for products with lengthy UV and wear ratings.
- Under-deck drainage: Installs below joists, capturing water and channeling it to gutters—perfect if you want a usable, dry lounge or storage space beneath the deck. Above-joist integrated trough systems are best at protecting the actual deck frame for new builds.
Step 3: Plan for Detailing and Transitions
- Leaking rarely starts in the middle of the deck—focus on seams, post penetrations, ledgers (at the house), scuppers, and stairs. Use manufacturer-supplied tapes or boots at tricky intersections.
- Always slope for drainage—typically a minimum 1/8″ per foot away from the structure is needed for coatings and sheets. Most under-deck drainage systems recommend at least 1/4″ per foot for panels and troughs.
Step 4: Installation
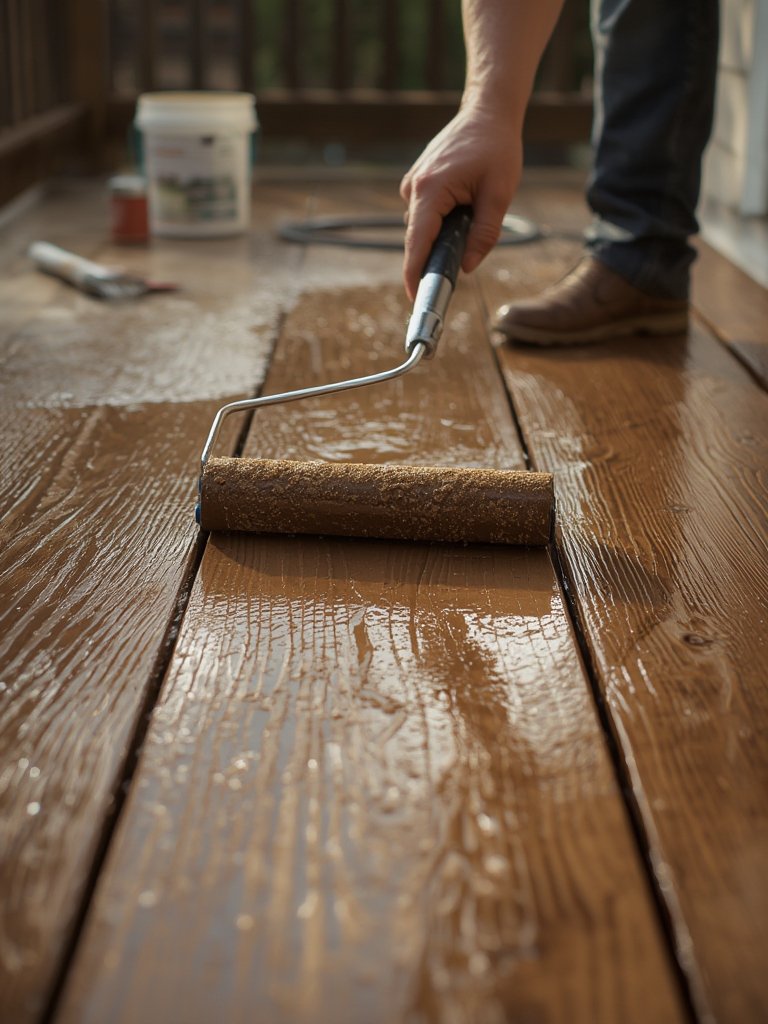
- Surface prep is critical: Clean, sand, and dry is the rule for coatings. Remove old paint, stains, and dust. For drainage panels, clear joist sides of nails and debris before fastening.
- Apply strictly by spec: Respect temperature, humidity, and thickness instructions, and use required primers or mesh fabrics. For multi-coat systems, allow correct cure intervals.
- For under-deck drainage, follow panel direction, maintain recommended fastener spacing, and overlap all seams according to the guide. Slope all troughs—do not eyeball it; use string lines or levels for accuracy.
Step 5: Maintenance and Inspection
- Coated decks: Rinse free of debris; inspect flashings, seams, and traffic areas each spring and fall. Re-topcoat or patch as manufacturer recommends—usually every 5–10 years, but high-use decks may need more frequent attention.
- Under-deck drainage: Clean gutters, channels, and downspouts at least once a year (more in heavy foliage areas). Watch for yellowing, sags, debris dams—which can lead to leaks or reverse slope.
Deck waterproofing upgrades often go hand-in-hand with other outdoor living improvements. If you’re planning an outdoor kitchen or covered patio, see our guides on outdoor kitchen installation and covered patio projects.
Advanced Analysis & Common Pitfalls: What Reviews and Data Reveal
Even premium products fail when installed wrong or under-maintained. Review data and real-world reports highlight patterns worth your attention before you choose a deck waterproofing system:
Most Common Failure Points and Why They Happen
- Leaks at posts, seams, and thresholds: Typically from insufficient detailing, improper slope, or using a product not rated for deck transitions. Users often report leaks developing within three years.
- Premature coating breakdown: Many deck coatings peel, bubble, or crack when surface prep is skipped or a previous coating is left beneath the membrane. Application outside the correct temperature range accelerates failure.
- Standing water and sagging panels: Poor slope or excessive joist spacing allows under-deck panels to hold water, which can stain, sag, or even breed mildew and mosquitoes. Fix: use thicker panels and accurately set pitch.
- UV and color fade: Cheaper coatings and vinyl often discolor after just 1–3 years of full sun, especially darker shades. High-end PVC and polyurea products have longer-lasting colorfastness and include UV inhibitors.
- Noise and debris buildup: Under-deck drainage systems can echo rain or pop with heat expansion. Many need cleaning at least annually but this is rarely addressed in marketing.
Cost and System Performance Comparison
| System Type | Material Cost (USD/ft²) | Installed Cost (USD/ft²) | Lifespan* | Notes |
|---|---|---|---|---|
| Liquid-applied waterproof deck coatings | $3–$8 | $8–$18 | 7–30+ years | Varies greatly by type: polyurea (>20y), acrylic (7–15y), polyurethane (15–25y) |
| Sheet membrane over deck | $4–$10 | $10–$20 | 15–30 years | PVC/TPO sheets most common, long warranty if seams detailed |
| Under-deck drainage (retrofit) | $3–$8 | $6–$15 | 10–25 years | Does not protect deck surface, just below-deck space |
| Premium above-joist drainage | $4–$9 | $10–$22 | 15–30 years | Protects structure and provides finished ceiling if desired |
*Lifespan and cost averages sourced from market reports and 2024 trade bid ranges.
What Makes a “High-End” System?
- High-end membranes use thicker, UV-stable materials, fully detailed transition accessories, and publish data for temperature and water exposure limits.
- Premium under-deck drainage systems specify maximum rainfall capacity, use robust accessories at all critical joints, and pass code fire or snow-load testing. Cheap systems often omit these entirely—so always check tech specs, not just price.
When remodeling, consider pairing your deck waterproofing with improved decking surfaces. Composite decking is a strong partner for many waterproofing systems due to low maintenance and compatibility with both membranes and under-deck drainage.
For a more technical deep dive into waterproofing membrane innovations, see the Techsci Research market study.
Conclusion
Choosing a deck waterproofing system is not just about the upfront cost or a manufacturer’s claims—it is about system fit, correct installation, and ongoing maintenance. Liquid-applied coatings, sheet membranes, and under-deck drainage systems all play different roles: weigh your priorities for lifespan, protection, aesthetics, and how you want to use your outdoor space. A strong foundation here sets the stage for future upgrades, from landscaping to patio kitchens. Ready to safeguard your investment? Select the right deck waterproofing system based on climate, traffic, and usage—your deck and everything under it will thank you. To get more ideas for boosting your home’s value and comfort, explore our full range of remodeling and outdoor living guides.
Frequently Asked Questions
How long does a typical deck waterproofing system last?
Service life varies by system: polyurea and PVC membranes can last 20–30+ years, polyurethane coatings about 15–25 years, and acrylics 7–15 years. Under-deck drainage panels often last 10–25 years, but require more cleaning if installed where lots of debris falls.
Does under-deck drainage protect the deck boards?
No. Under-deck drainage systems keep the area beneath your deck dry, but deck boards and joists above are still exposed to water, sun, and wear. For maximum protection, use above-joist waterproofing together with drainage.
What is the biggest cause of waterproofing failure?
Improper surface preparation and poor detailing at transitions, such as posts or thresholds, cause most leaks. Always follow the manufacturer’s prep and install guide—skipping steps leads to early failures.
How much does professional installation add to the total cost?
Labor can double or triple the material price. For premium waterproof coatings or sheet membranes, expect $8–$18 (liquid) or $10–$20 (sheet) per sq ft installed. Under-deck drainage systems average $6–$15 per sq ft including labor. Complexity, elevation, and local rates affect pricing.
How soon can I use my deck after waterproofing?
Polyurea-based systems can cure in just hours, while acrylic, polyurethane, or cementitious coatings may need 1–3 days per coat depending on temperature and humidity. Always verify with your product specs before heavy use or placing furniture.
—
