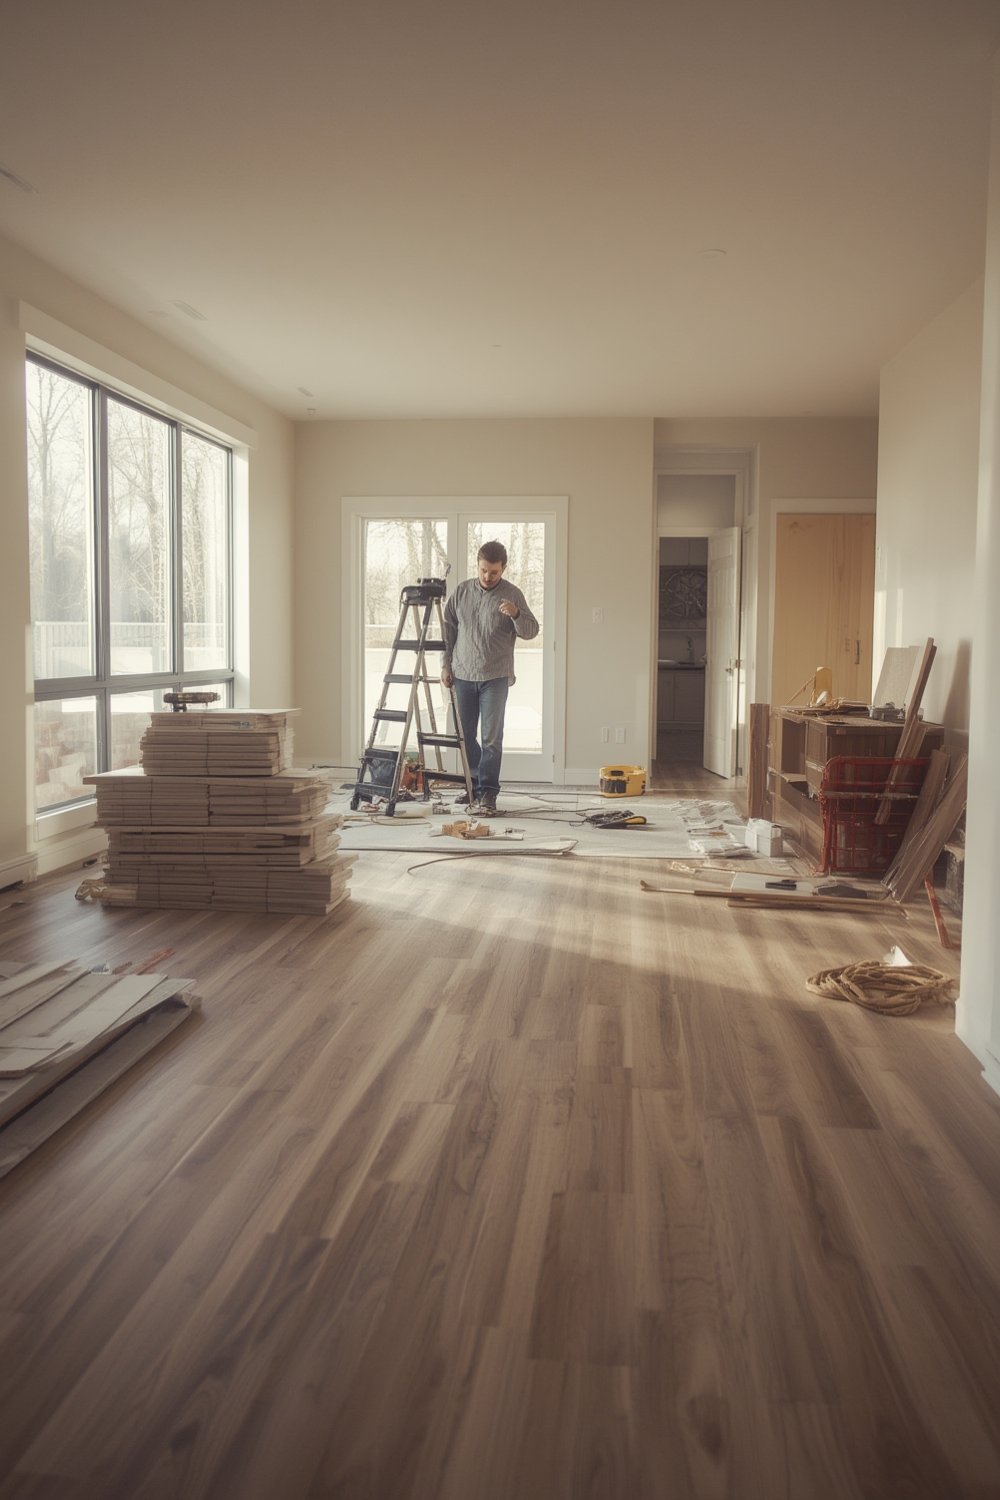
LVP flooring installation has quickly become a top choice for homeowners seeking durable, waterproof, and stylish alternatives to traditional hardwood floors.
Key Takeaways
- LVP flooring installation offers tremendous growth potential, with rigid-core innovations improving both longevity and appearance compared to older vinyl solutions.
- Proper acclimation, subfloor testing, and expansion gaps are vital for a trouble-free install but are often overlooked by DIYers, leading to most common issues.
- While low-maintenance and resistant to water, LVP’s long-term performance depends heavily on following manufacturer procedures and being aware of local VOC regulations for indoor air quality.
- What Is LVP Flooring Installation and Why Is It Gaining Ground?
- Step-by-Step Guide to LVP Flooring Installation
- Advanced Analysis and Common Pitfalls in LVP Flooring Installation
- Conclusion
- Frequently Asked Questions
What Is LVP Flooring Installation and Why Is It Gaining Ground?
LVP stands for Luxury Vinyl Plank—an engineered, multi-layered flooring material designed to replicate the look of hardwood while adding waterproof, scratch-resistant durability. LVP flooring installation involves placing planks (usually click-together, floating, or glue-down products) directly over prepared subfloors. Thanks to 2024’s rigid-core enhancements like SPC (stone plastic composite) and WPC (wood plastic composite), LVP continues to take market share from not only hardwood, but also less adaptable materials such as sheet vinyl and laminate.
Recent statistics show that luxury vinyl, including both LVP and LVT (Luxury Vinyl Tile), now accounts for over a third of the total US flooring market. LVP applications span family homes, rental units, basements, and commercial projects due to their resilience and easy maintenance.
Rigid-core lines, premium finishes, and innovative click-lock profiles have made installation easier than ever before, enabling both professionals and confident DIYers to achieve premium finishes. And with LVP growing at a forecasted 6.79% CAGR through 2031, this trend is set to accelerate in the coming years.
Step-by-Step Guide to LVP Flooring Installation
Installing LVP flooring is straightforward if you approach each stage methodically. Below is a clear, actionable guide to set yourself up for lasting results.
- Choose the Right LVP Product for Your Room
- Rigid core (SPC and WPC) options are ideal for basements, kitchens, or high-moisture zones. For bedrooms or living rooms, standard LVP planks may suffice.
- Look for products with certifications such as FloorScore or GREENGUARD for healthier indoor air quality, especially if you’re sensitive to chemical emissions.
- Gather Tools and Materials
- utility knife, measuring tape, spacers, tapping block and mallet, straight edge, and moisture meter are key.
- If cutting around cabinets or corners, a jigsaw helps with tight curves.
- Acclimate the Flooring
- Let planks sit flat, in their boxes, inside the installation room for 48 to 72 hours.
- Maintain room temperature and humidity levels close to their everyday ranges.
- Inspect and Prep the Subfloor
- Subfloor should be clean, dry, level, and structurally sound. Sweep up dust and debris.
- Use a moisture barrier if installing over concrete or below grade.
- Check for dips using a long level. Level spots greater than 3mm over 6 feet should be filled or sanded down.
- Plan Layout
- Lay out planks without attaching them to check appearance and reduce narrow strips at walls.
- Use spacers to maintain manufacturer-recommended expansion gaps (generally 1/4 inch around the perimeter).
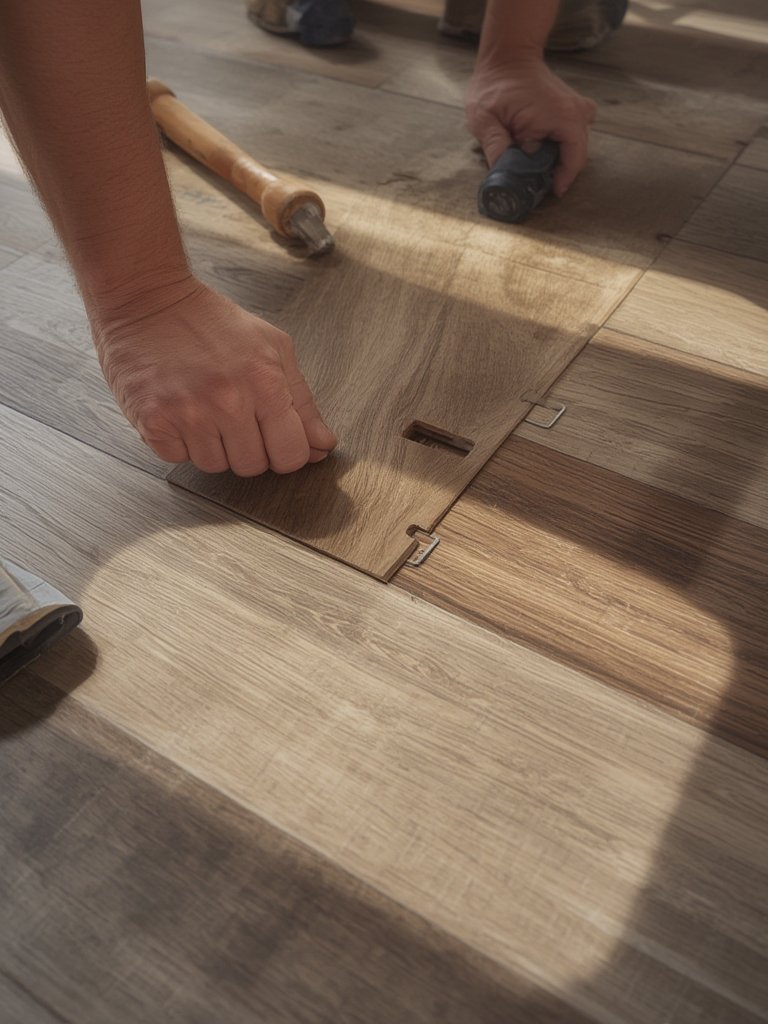
- Install the First Row
- Begin along the room’s longest, straightest wall. Click the planks together at the short ends.
- Stagger end joints by at least 6 inches for a natural wood look and enhanced strength.
- Continue Installation
- Work row by row, clicking the long edge and short edge into place.
- Use a tapping block and mallet to achieve snug, smooth seams without damage.
- Check regularly to maintain straight rows and consistent spacing at the walls.
- Cut and Fit Planks
- Mark, score, and snap planks with a utility knife, or use a jigsaw for curved or complex cuts.
- Remember to leave expansion gaps—don’t jam planks tight against fixed features like pipes or door jambs.
- Finish Trim and Clean Up
- Remove spacers and install baseboards or quarter-round trim to cover the expansion gaps.
- Wipe or vacuum the new floor to remove installation residue.
Installing LVP in your kitchen or bath pairs beautifully with other modern upgrades. If you’re planning a larger remodel, check our guide on bathroom renovation trends for 2025, or see how a dedicated outdoor kitchen can elevate your living space.
Advanced Analysis and Common Pitfalls in LVP Flooring Installation
Even though manufacturers pitch LVP as a low-risk, beginner-friendly product, there are several technical nuances and common mistakes to be aware of:
- Skipping acclimation: Failing to acclimate planks is the leading cause of gapping, warping, or buckling, particularly in climates with seasonal temperature swings.
- Ignoring subfloor moisture: Some DIYers skip moisture testing, especially over concrete. This oversight puts your investment at risk for mold, swelling, and plank separation down the line.
- Not allowing for expansion: Pinning LVP directly against a wall or heavy fixture causes pressure points. Over time, planks may tent or pull apart at the seams.
- Poor subfloor prep: Uneven or debris-ridden surfaces can telegraph imperfections through the floor—especially with thinner, more flexible LVP.
- Incompatible cleaning products: Harsh chemicals or excessive water may compromise wear layers and warranties, especially in kitchen and bath environments.
| Feature | LVP Flooring Installation | Traditional Hardwood | Laminate/Sheet Vinyl |
|---|---|---|---|
| Moisture Resistance | Excellent (SPC/WPC core) | Poor to moderate | Good to fair |
| Ease of Installation | DIY-friendly (click-lock, floating) | Requires pro install | DIY or pro |
| Cost (Materials) | Mid | High | Low to mid |
| Life Expectancy | 15–25 years (varies by quality) | 30+ years with refinishing | 8–15 years |
| VOC Emissions | Low if certified | Low (solid wood) | Varies |
If you want to maximize home value or appeal to buyers, consider combining upgraded flooring with functional outdoor transformations. Browse guides to finding expert landscaping services or innovative composite decking installation that pairs well with low-maintenance LVP indoors.
Technical innovations in LVP go beyond looks. Modern planks use rigid SPC or WPC cores for greater moisture resistance and dimensional stability, as outlined by industry market reports. New polypropylene-based, PVC-free options are also entering the market, which can help environmentally conscious homeowners meet stricter Canadian VOC requirements as described by Mordor Intelligence.

Conclusion
LVP flooring installation offers a smart, durable, and increasingly sustainable option for both DIYers and professionals. Its combination of realistic hardwood looks, waterproof performance, and moderate cost continues to draw a growing share of the remodeling market. Still, the secret to a long-lasting install is attention to acclimation, subfloor prep, and following reputable product guidelines. Whether upgrading for a new look or aiming to increase resale value, always research local VOC regulations and consider your long-term needs. Ready to transform your space? Explore more on efficient home improvements and see how Lowe’s is shaping the home improvement journey. Don’t hesitate—begin your LVP flooring installation project today for a practical yet stylish refresh.
Frequently Asked Questions
How long does LVP flooring installation take for an average room?
For an average 200–300 square foot room, expect 1–2 days including subfloor prep and acclimation. Larger spaces or complex layouts may require more time.
Can LVP flooring be installed in bathrooms or basements?
Yes, rigid-core LVP products are ideal for bathrooms and basements thanks to their high water resistance. Always use a moisture barrier when recommended by the manufacturer.
How do I maintain LVP flooring after installation?
Clean regularly with a damp mop and mild detergent. Avoid soaking the floor or using abrasive cleaners that could damage the protective wear layer.
Is professional installation necessary?
Not always. Many LVP products are designed for straightforward DIY installation. However, complex patterns, uneven subfloors, or large projects may still benefit from professional expertise. For more guidance, see our ultimate guide to getting projects done with Lowe’s.
Which certifications or eco-labels should I look for when choosing LVP?
Look for certifications such as FloorScore or GREENGUARD, which ensure low chemical emissions. In Canada, check for compliance with stricter VOC regulations.
