EV charger installation home is one of today’s most practical upgrades for homeowners who drive electric vehicles, but the process involves more than simply buying a charger and plugging it in. What should you expect, what are the true costs, and where do most installations get tripped up? Here’s your real-world guide.
Key Takeaways
- Most costs for EV charger installation at home come from labor and electrical upgrades—not just the charger itself.
- Navigating permits and compliance is often the biggest headache, and skipping this step leads to major issues.
- An experienced, licensed electrician is non-negotiable for safe, compliant, and resale-friendly installation.
- Understanding Home EV Charger Installation
- Step-by-Step Guide to EV Charger Installation at Home
- Advanced Analysis & Common Pitfalls
- Conclusion
- FAQ
Understanding Home EV Charger Installation
Installing a Level 2 charger at home is the gold standard for reliable and fast electric vehicle charging. But it requires more than plugging into a standard outlet. Most homes need a dedicated 240V circuit, a compatible charger, and the entire installation should meet National Electrical Code (NEC) along with local building regulations. The main reasons to invest in this process are faster charging (usually enough for a full charge overnight), convenience, and future proofing your property for the growing EV market—critical if you plan to sell in the next decade.

However, while easy in theory, many homeowners are caught off guard by hidden steps—especially permit requirements and the need for electrical panel updates. Costs can escalate depending on the age and capacity of your home’s wiring, and skipping key steps almost always leads to safety or insurance headaches down the road.
If you’re making broader improvements to your property—like outdoor space enhancement—thinking about charging infrastructure in advance pays off. Integration beats retrofitting every time.
Step-by-Step Guide to EV Charger Installation at Home
Here’s a breakdown of the installation process, costs, timeframes, and where to watch for problems:
-
Initial Consultation & Assessment
- Consult a licensed electrician to evaluate your electrical panel’s capacity. Most modern homes handle a Level 2 charger; older homes may need panel upgrades—sometimes the costliest phase ($1,000–$5,000+).
- If you’re planning outdoor enhancements, such as functional outdoor design, consider running conduit or prepping space before hardscape or concrete is poured.
-
Permitting and Compliance
- File permit applications with your city or county. Forms detail charger specs, location, and circuit usage. Faster states and counties (like California) offer streamlined online approvals, while others might require an in-person review.
Source - Your electrician can file permits for you and coordinate with inspectors, saving time and risk.
- File permit applications with your city or county. Forms detail charger specs, location, and circuit usage. Faster states and counties (like California) offer streamlined online approvals, while others might require an in-person review.
-
Hardware Selection & Purchase
- Most charger hardware units run $500–$1,000. Choose UL-listed, NEC-compliant hardware from reputable brands supported by your utility and insurance provider.
- If you’re upgrading your home’s technology, you might be exploring smart home installation service at the same time—combine upgrades for savings on labor.
-
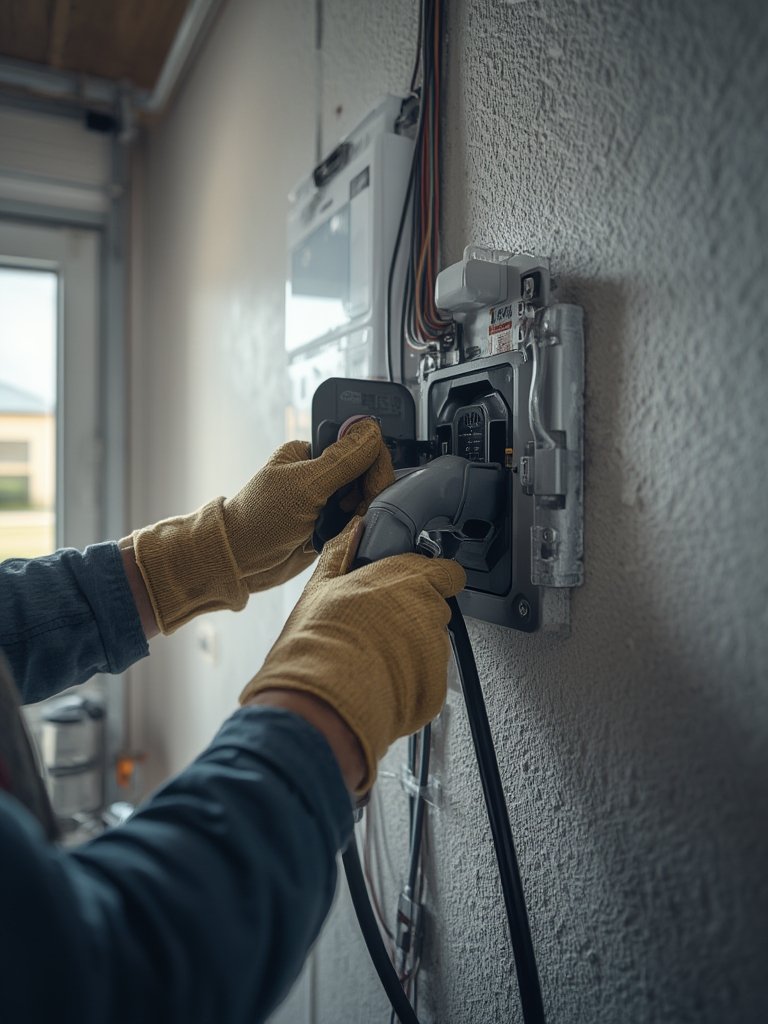
Physical Installation by a Licensed Electrician
- Labor averages $500–$1,500 depending on complexity and charger location.
- Electrician hardwires the charger to your main electrical panel, installing the appropriate circuit breaker, wiring, and safety disconnects as required.
-
Final Inspection & Testing
- City inspector checks that wiring, grounding, and labeling all comply with NEC and local codes (takes about 15–30 minutes). Any issues here mean your electrician must do rework (and a second inspection). Source
-
Activation & Documentation
- Once passed, you can safely use your charger. Keep copies of permits and inspection reports—these matter for future insurance claims and when selling the home.
With this workflow, the entire cycle—from consultation to finished, compliant installation—typically takes one to three weeks. Delays almost always arise from incomplete paperwork, slow inspector scheduling, or needing unexpected panel upgrades. Labor and materials costs aside, permits and inspection give you peace of mind and protect your home’s value.
If you are tackling other home improvement projects, such as hardware store improvements through trusted outlets, schedule EV charger work for the same timeframe to minimize disruption.
Advanced Analysis & Common Pitfalls
Even with strong planning, a few overlooked hurdles trip up many EV charger installations:
| Pitfall | What Actually Happens | How to Avoid It |
|---|---|---|
| Skipping Permits | Uninspected high-voltage work triggers insurance denial, resale failure, and serious safety hazards if wiring overheats or a fire breaks out. | Never skip permits. Save all documentation for future claims or home sales. |
| Underestimating Panel Needs | Old or undersized panels can’t safely run a Level 2 charger, causing tripped breakers, poor charging, and failed inspections. | Have the electrician run a full load calculation during the initial assessment. |
| Poor Timing with Other Work | Landscaping or garage alterations completed before conduit is run means costly demolition or exposed wiring. | Bundle EV charging with any landscape transformation or renovation. |
| Ignoring Local Variations | State and city rules are wildly different. Some require special disconnects or limit outdoor charger placement. | Use a local electrician experienced in EV charger permits in your municipality. |
| Failed Inspections | Noncompliant installs mean costly rework, further permit delays, and potential insurance rejection. | Choose UL-listed equipment and involve your electrician early. |
Another often-overlooked risk is incomplete documentation. Save all inspection sign-offs; future homebuyers and insurers both check for these. If you’re curious about trends in home improvement and why proper documentation matters, check out our retail evolution analysis.
Many first-time installers also assume incentives will offset costs, but as of 2024, information on federal and local rebates for home chargers is spotty. It’s vital to check your utility or local government directly for current rebate info—never rely on outdated blog posts alone.

Conclusion
Investing in EV charger installation home brings huge convenience and long-term value. You’ll avoid 95% of common issues by working with a licensed electrician, following permit guidelines, and staying organized with documentation. The process isn’t complex—but it does require diligence. If you’re embarking on larger improvements, such as stunning outdoor transformations, tie in your electrical upgrades for future-proofing. Start your journey today—don’t wait until you have an EV in the driveway. Compare electricians, plan smartly, and let your EV charger installation home work for you from day one.
Ready to get started? Schedule a professional assessment and secure your home’s charging future now.
FAQ
How much does a typical Level 2 EV charger installation at home cost?
The average total cost ranges from $1,500 to $7,500, broken down as follows: charger hardware ($500–$1,000), electrician labor ($500–$1,500), and potential panel upgrades ($1,000–$5,000). Costs depend on your home’s existing electrical system and local permit fees.
Do I really need a permit for EV charger installation at home?
Yes, all Level 2 charger installations require permits to comply with the National Electrical Code and local regulations. Skipping permits risks safety, insurance, and legal problems, especially during resale. Learn why permits matter.
Can I install an EV charger myself if I’m handy?
No—Level 2 installation should only be performed by a licensed electrician. Hardwiring and high-voltage work must pass inspection and meet all codes for your safety and homeowner insurance.
How long does the installation process usually take?
From initial consultation to final permit inspection and activation, the typical timeline is 1–3 weeks, with installation itself usually completed in a few hours after permits are secured.
What happens if my home’s electrical panel isn’t powerful enough?
Your electrician will recommend a panel upgrade or an alternative solution. This is one of the largest expense variables, but it’s essential for safe long-term operation.