Smart thermostat installation is rapidly changing the way homeowners control comfort and energy bills, but getting it right goes beyond plugging in a new device. Here’s how to choose, set up, and future-proof your home’s next upgrade—without the usual headaches.
Key Takeaways
- Smart thermostats save 10-15% on annual energy use, with adoption in over 25% of North American homes in 2024.
- Installation isn’t always “plug and play”—issues like C-wire needs, Wi-Fi setup, and HVAC compatibility can complicate the process.
- Utility rebates up to $100 are often available per install; review local incentives and possible professional setup benefits.
- What Is Smart Thermostat Installation and Why Does It Matter?
- Step-by-Step Guide to Smart Thermostat Installation
- Advanced Analysis & Common Pitfalls
- Conclusion
- Frequently Asked Questions
What Is Smart Thermostat Installation and Why Does It Matter?
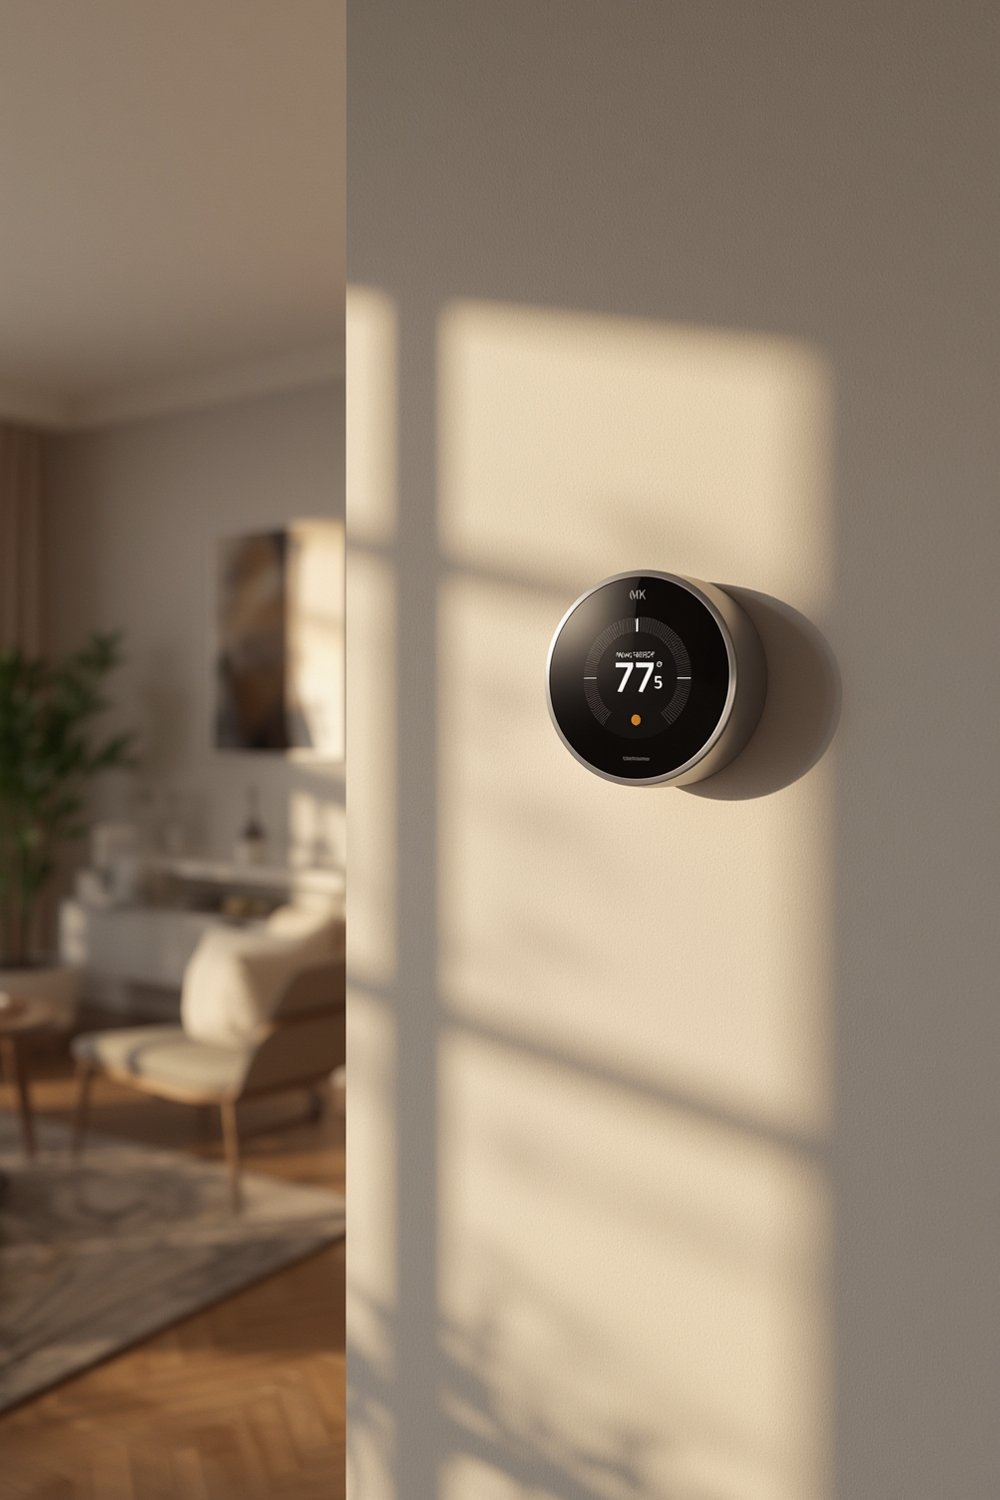
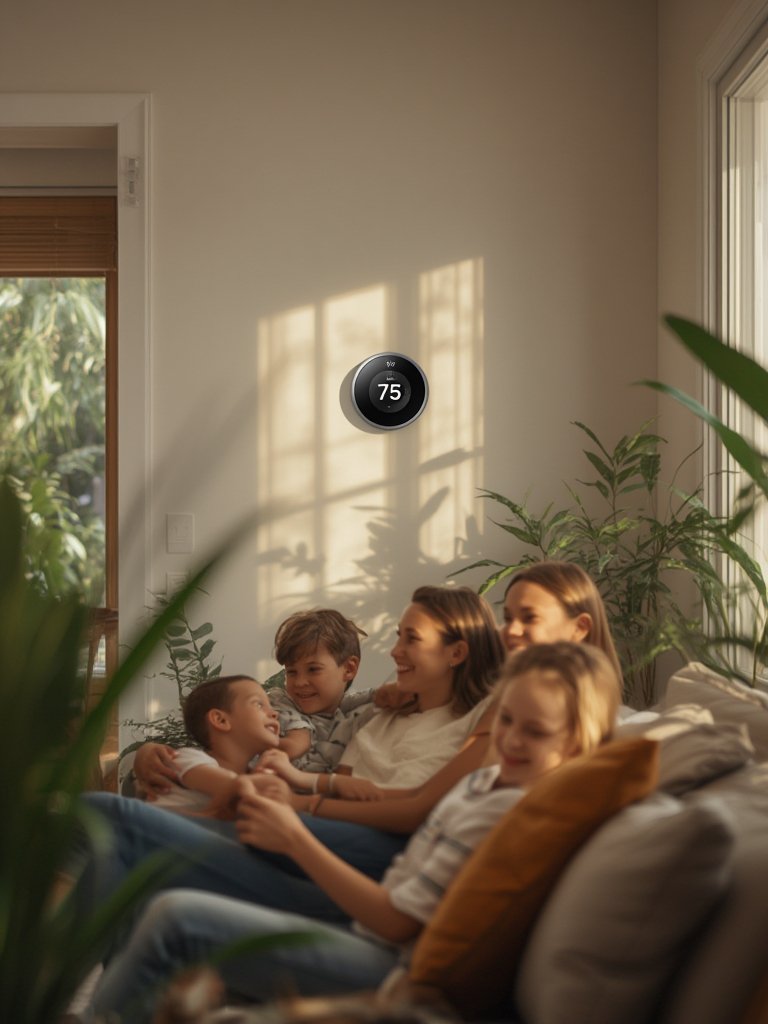
Smart thermostat installation refers to replacing a traditional wall thermostat with a connected, Wi-Fi enabled device that lets you automate and remotely control your home’s heating and cooling. These thermostats use AI to optimize schedules, learn your habits, and deliver meaningful savings without sacrificing comfort. HVAC systems account for about 50% of home energy use, which makes smart thermostats one of the most effective upgrades for energy-conscious households.
The North American smart thermostat market surpassed 25% adoption in 2024. In the United States alone, the market is worth approximately USD 2.36 billion, with smart thermostats installed in 16-17% of internet-connected households[source]. Thanks to AI-driven routines, the typical homeowner saves 10-15% on heating and cooling bills each year.
Professional installation can be especially appealing for users with older wiring (such as missing the vital C-wire), multi-zone HVAC systems, or who want integration with broader smart home platforms. Dozens of major brands, like Nest and Ecobee, report double-digit growth for professionally installed units. Local rebates and incentives—offered by over 80 North American utilities—can help offset costs, making professional setup more attractive for many homeowners.
For a comprehensive look at making your entire home smart, including thermostats, see our guide on smart home installation services.
Step-by-Step Guide to Smart Thermostat Installation
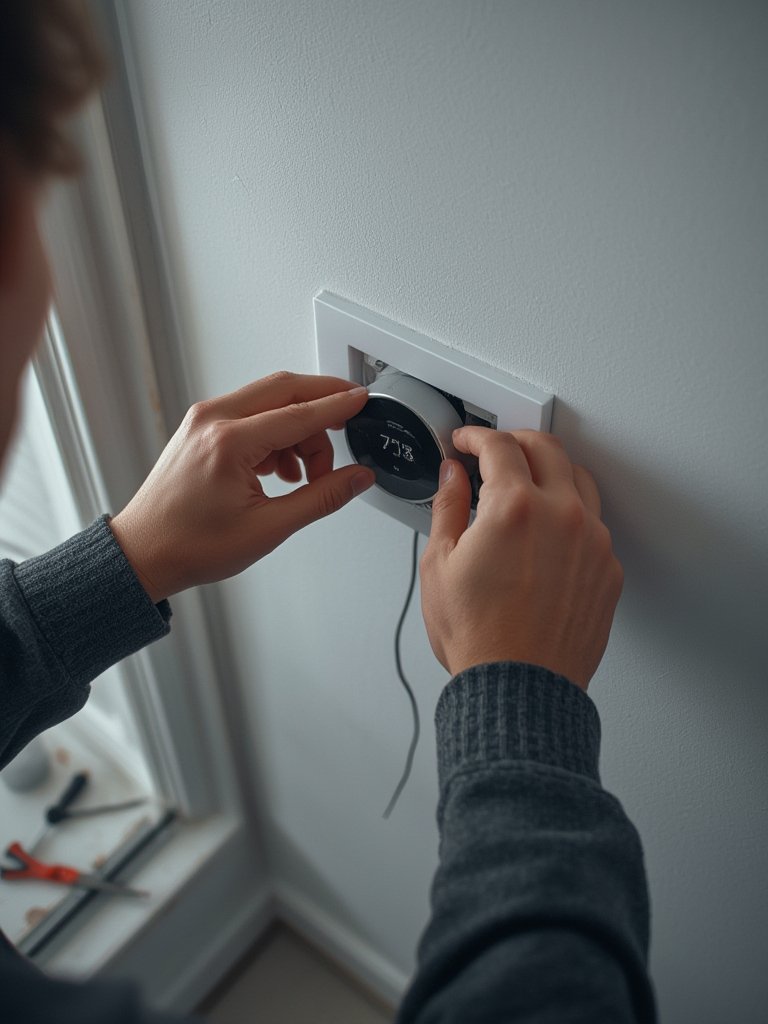
Before you begin, gather your tools (flathead screwdriver, drill, pliers, phone/tablet for app setup) and consult your HVAC manual. Here’s how to safely and successfully tackle a smart thermostat installation:
- Turn Off Power
Locate your HVAC circuit at the breaker and turn it off to avoid shocks. - Remove Existing Thermostat
Gently unscrew and detach your old thermostat, labeling the wires (photograph them for backup). - Check for a C-Wire
Newer thermostats require a common (C) wire for continuous power. If missing, research the included adapter or consider professional installation. - Mount New Base Plate
Secure the mounting plate using supplied screws and a level so your thermostat sits flush and straight. - Connect Wires by Label
Insert each wire as labeled earlier (W, Y, G, C, etc.) into the new thermostat clamp slots. - Attach Front Plate
Clip the display unit onto the base. If you feel any resistance, double-check wiring alignment. - Restore Power & Begin Setup
Power the system back on. Connect your smart thermostat to Wi-Fi using the on-screen prompts and manufacturer app. - Configure Schedules & Integrations
Set preferred schedules, link to your smart home hub (if applicable), and run a test heating/cooling cycle to verify.
Not comfortable going DIY? You’re not alone—many homeowners opt for professional installation to confirm system compatibility and ensure advanced features (like multi-zone or voice integration) work reliably. For other complex projects with high ROI, check out our guide on outdoor kitchen installation.
Already thinking of a complete home technology upgrade? See what’s trending in full-service smart device installation near you.
Advanced Analysis & Common Pitfalls
Smart thermostat installation isn’t always straightforward. Here are the most frequent technical challenges and potential gotchas to prepare for:
- Compatibility Issues: Not all HVAC systems (especially older or proprietary models) play well with modern smart thermostats. Double-check compatibility before purchase.
- C-Wire Requirement: Lack of a C-wire is the number one headache. Some brands include a power extender kit, but in other cases, new wiring may be required. Professional help is strongly advised if you’re unsure.
- Wi-Fi Dead Zones: A smart thermostat far from your router can struggle with setup and cloud connection. Wi-Fi extenders or mesh networks are often needed in larger homes.
- Interoperability Problems: Competing smart home protocols (Matter, Z-Wave, Zigbee, proprietary solutions) can hinder integration with existing platforms or voice assistants. Not every thermostat supports every ecosystem.
- Hidden Professional Fees: Some “flat-rate” installation services in major cities add extra charges for tasks like rewiring, disposal of old devices, or mobile app configuration. Get a full quote before booking.
- Missed Rebates: Over 80 North American utilities offer $75-$100 incentives per installation, but many homeowners miss out due to paperwork or ineligible DIY setups. Always confirm requirements with your provider.
| DIY Installation | Professional Installation |
|---|---|
| Lower upfront costs ($0–$75 average tools & supplies) |
Average $120–$250 per unit (plus possible travel or complex wiring fees) |
| May void rebates from some providers | Qualifies for most utility rebates |
| Risk of miswiring or device incompatibility | System and wiring checked for full compatibility |
| No direct support for troubleshooting or mobile setup | Includes setup of schedules and mobile app walkthroughs |
Rebates, even those from ENERGY STAR® partners, rarely distinguish between pro and DIY installation—verify terms before purchase.
Expect higher complexity if integrating with home renovation projects, such as those found in outdoor space upgrades.
For ongoing system upgrades and home technology trends, follow our resource on how Lowe’s powers DIY home improvement.
Conclusion
Smart thermostat installation can unlock double-digit savings on utility bills, but there’s no such thing as a “universal” process. Double-check your system’s compatibility, consider professional setup for advanced features or tricky wiring, and always take advantage of rebates or incentives wherever possible. By taking these steps, you’ll ensure your smart thermostat installation delivers on both comfort and value.
Ready to make your home smarter and more efficient? Start reviewing your HVAC system and available rebates today, or book a trusted installer to maximize your benefits.
Frequently Asked Questions
Do I really need a C-wire for smart thermostat installation?
Most Wi-Fi-enabled smart thermostats require a C-wire for continuous power. Some models offer power adapter kits, but older HVAC systems may need new wiring. When in doubt, a professional installer can confirm compatibility and options.
Can I claim utility rebates if I install my smart thermostat myself?
Many utility rebates ($75-$100 value) are available for both DIY and professional installations, but requirements vary by provider. Always check terms before installation; paperwork or verification may be needed to qualify.
What are common problems after professional installation?
While few users report issues post-install, Wi-Fi signal problems, poorly labeled wires, or difficulty integrating with other smart devices can occur. Confirm your installer runs a full test—including app setup—before leaving.
Do smart thermostats work with all HVAC systems?
Not all thermostats are compatible with every HVAC system—especially older, proprietary, or multi-zone equipment. Always check the manufacturer’s compatibility list or consult an installer for verification.
What is the average cost for smart thermostat installation in major US cities?
The average professional smart thermostat installation costs between $120 and $250, with potential extra charges for wiring, device integration, or remote zones. DIY can cost less—just supplies and your time—but carries a higher risk if complex problems arise.

[…] light and temperature for your indoor greenery. Explore full smart climate options by reading smart thermostat installation […]